How to scan a receipt and split it by item
Instead of typing a long bill, scan it. AI reads every item and price, you tap to say who had what, and Cost Share works out each person's share, including tax and tip.
- 1
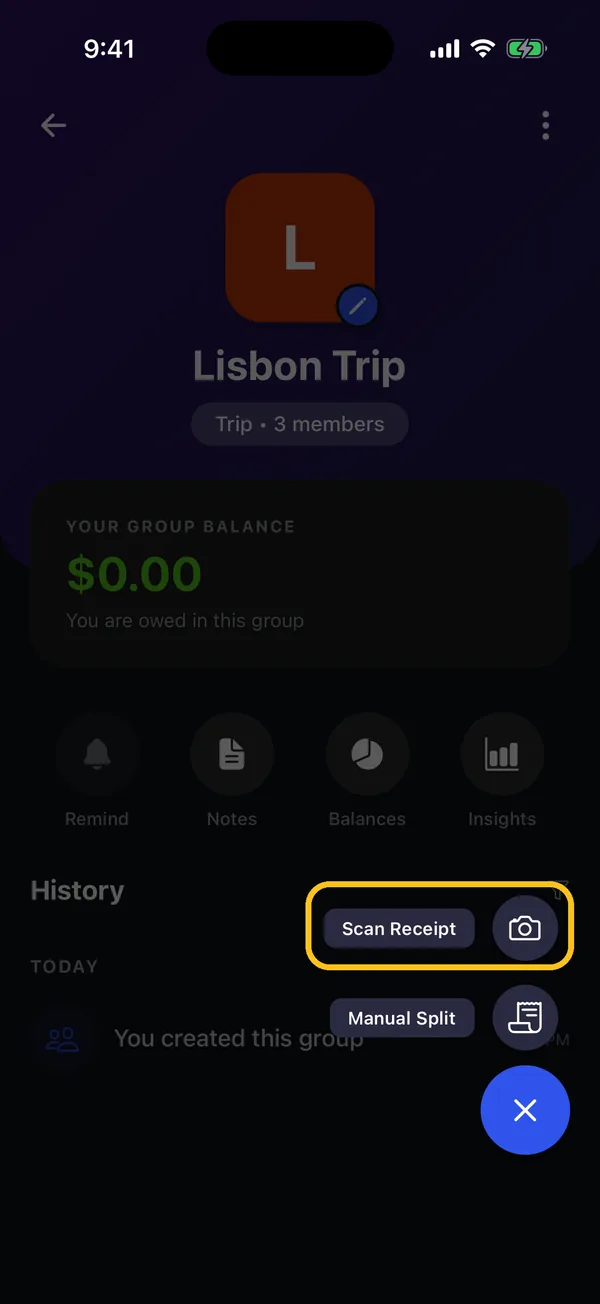
Open the group, tap +, then Scan Receipt
Open the group the bill belongs to, tap the blue +, and choose Scan Receipt.
- 2
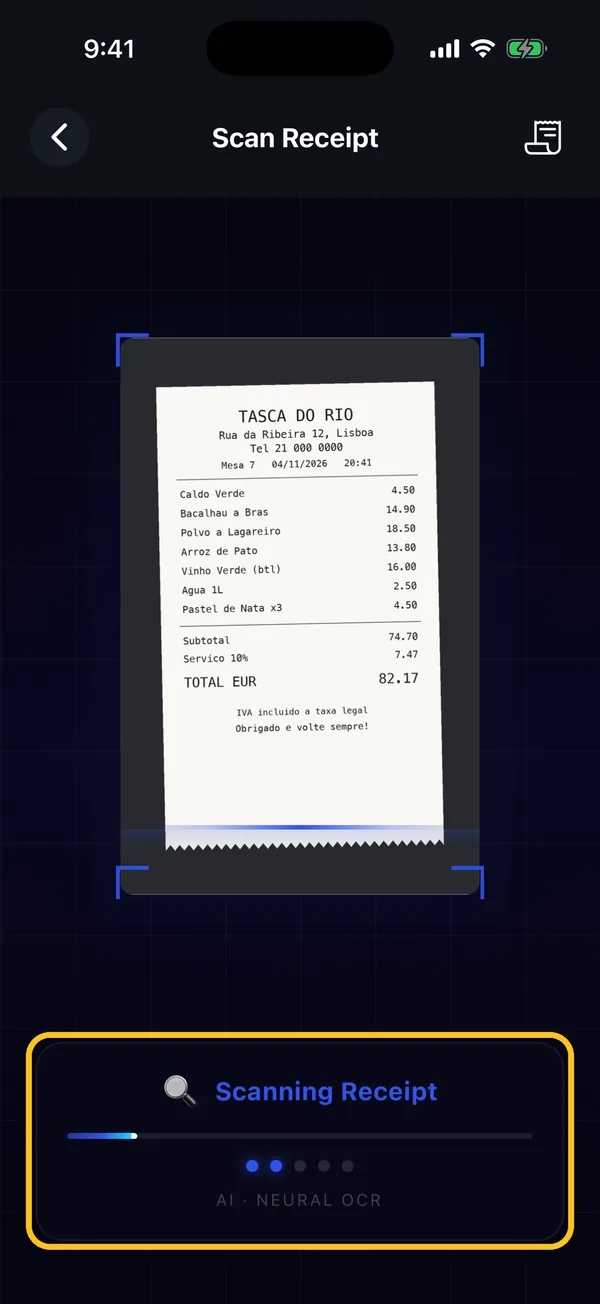
Photograph the receipt
Point your camera at the receipt and take the photo, or tap the gallery button to use a photo you already have. AI reads every item and price in a few seconds.
- 3
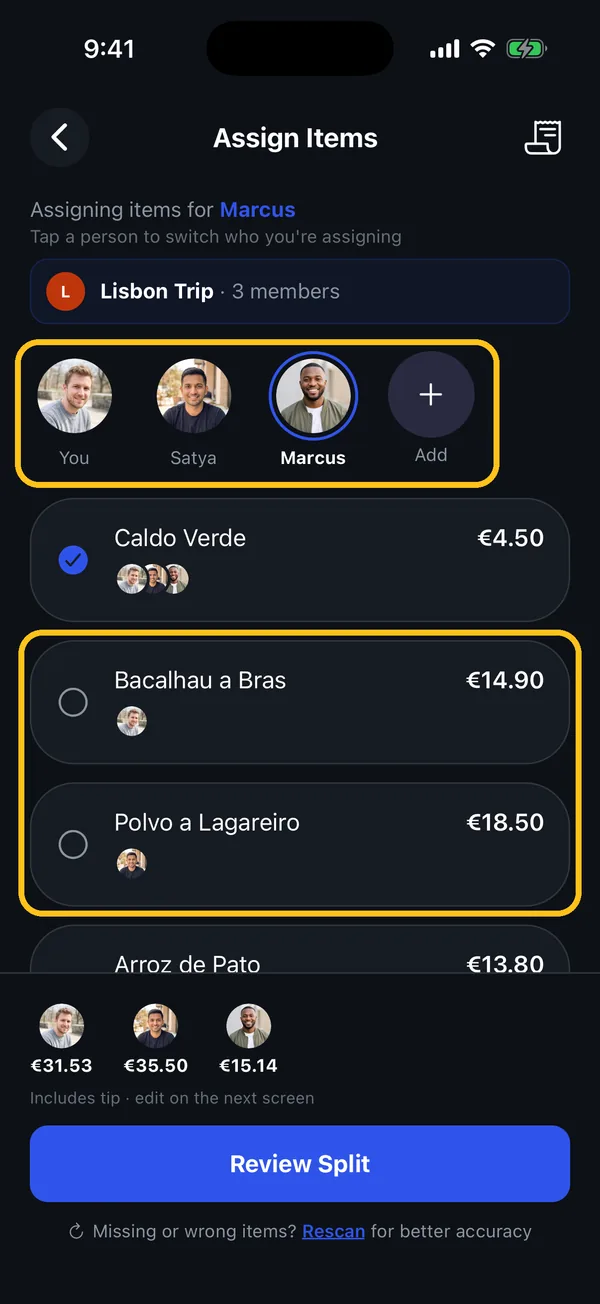
Assign items to people
Everyone starts on every item. Tap a person at the top, then tap items to take them off or put them back on. Shared items stay with everyone. Each person's total, tip included, updates at the bottom.
- 4
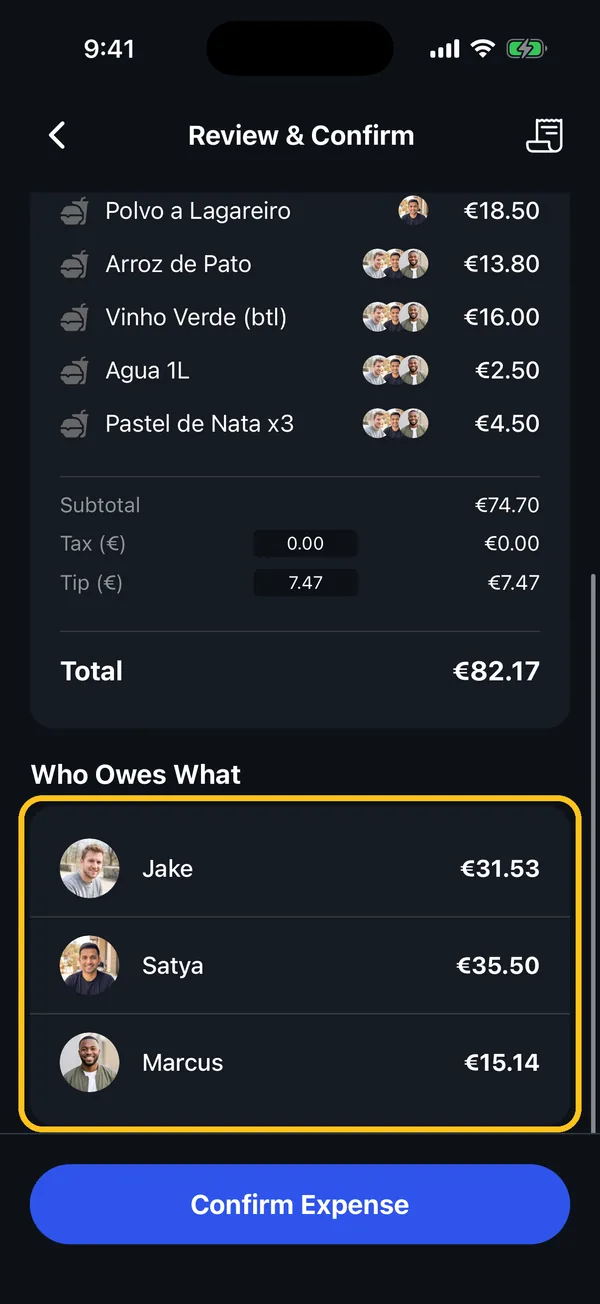
Review and confirm
Check the items, tax and tip, and see who owes what. Tax and tip are shared in proportion to what each person had. Tap Confirm Expense.
- 5
Done
The expense is saved with each person's exact share, and everyone's balance updates.
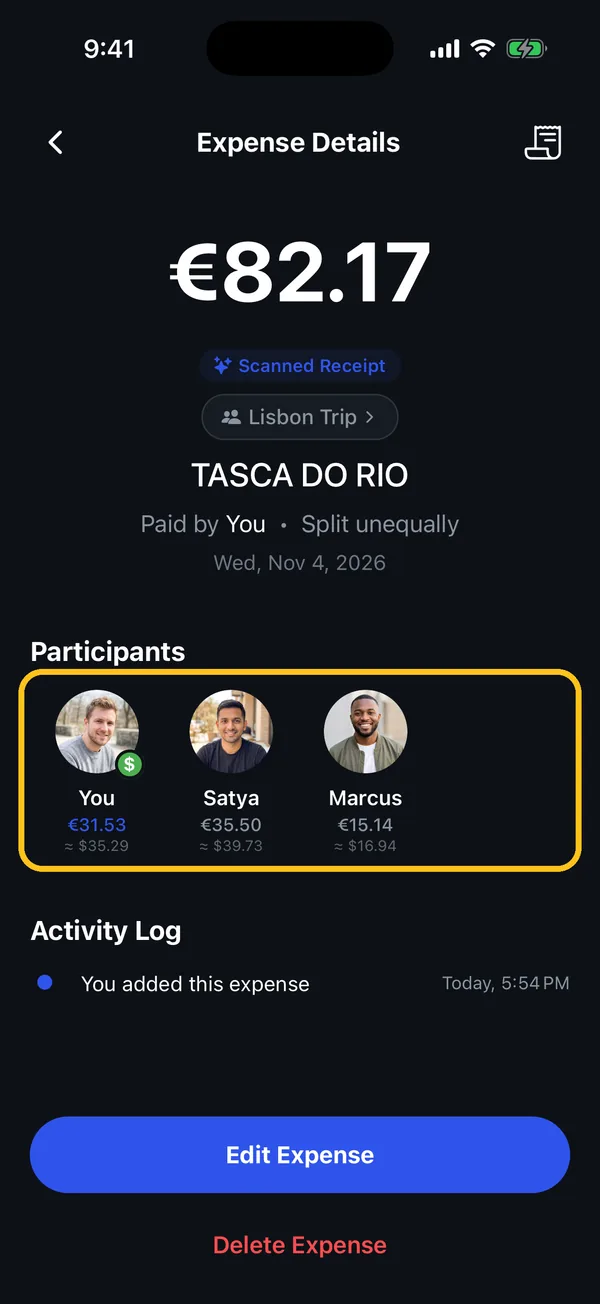
Scanning abroad? Set the group's currency first
A scanned receipt is saved in the group's default currency, so set a trip group to the local currency (for example EUR in Lisbon) before you scan. You can choose it when you create the group or later under ⋮ → Edit Group details.
Something not working?
An item or price was read wrong
On the Assign Items screen, press and hold the item to change its name or price. If several items are missing, tap Rescan at the bottom for a fresh read.
How many receipts can I scan?
The free plan includes 20 AI receipt scans a month. Cost Share Premium gives you unlimited scans.
How are tax and tip split?
In proportion to each person's items. If you had 40% of the food, you pay 40% of the tax and tip. You can adjust the tax and tip amounts on the review screen.
Can I scan a receipt for just me and one friend?
Yes. Start the scan from your friend's page instead of a group, or choose who to split with before assigning items.
Still stuck? Contact support — we'll help you personally.